21 Spooky Halloween Cubicle Decor Tricks to Try Now
Your desk deserves a little Halloween magic, even if you only have a few inches to spare. The best halloween cubicle decor is playful, compact, and easy to remove when the workday gets busy. And you do not need a big budget or a box of elaborate props to get there.
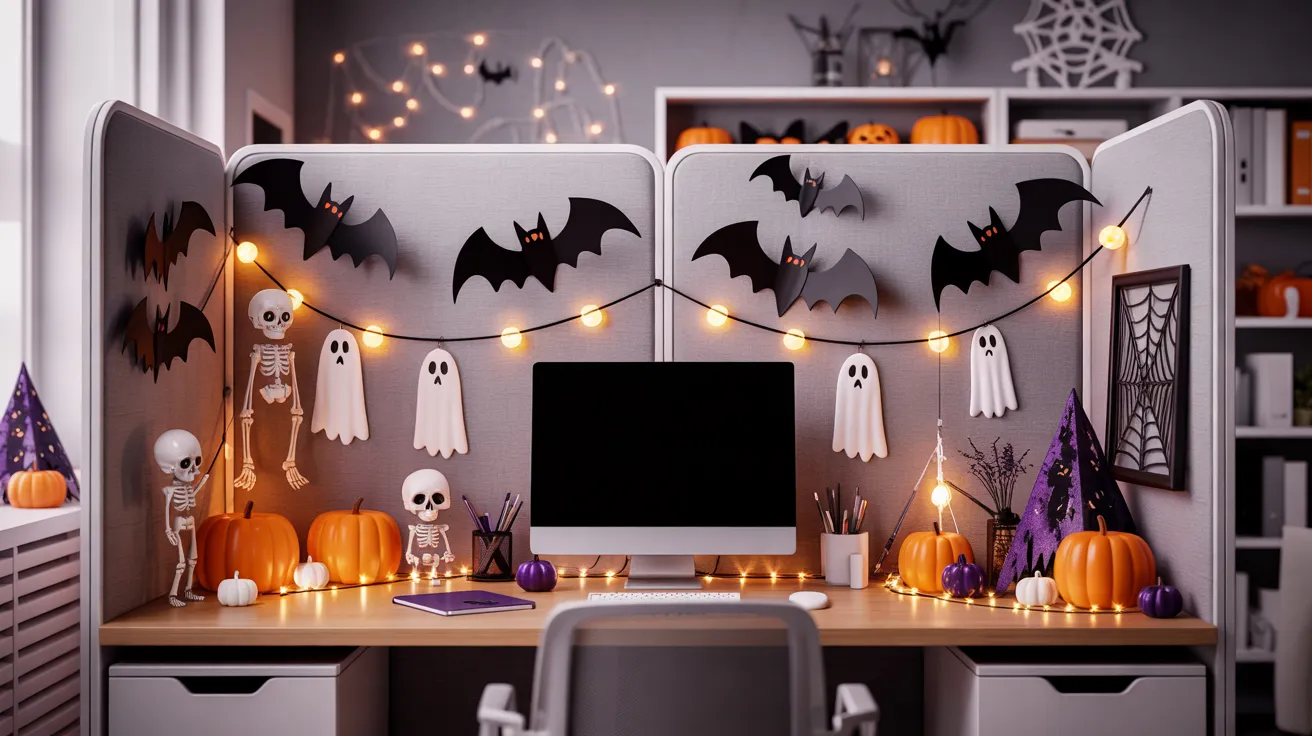
From fluttering paper bats and tiny pumpkin patches to ghost garlands and clever desk accessories, these 21 ideas make decorating feel doable. Each one uses simple materials and considers the realities of shared offices: limited surfaces, visible screens, tidy walkways, and coworkers nearby.
Start with one focal point, repeat two or three colors, and choose removable details that will not damage partitions. You will end up with a workspace that feels festive without getting in the way of your day.
Floating Bat Wall
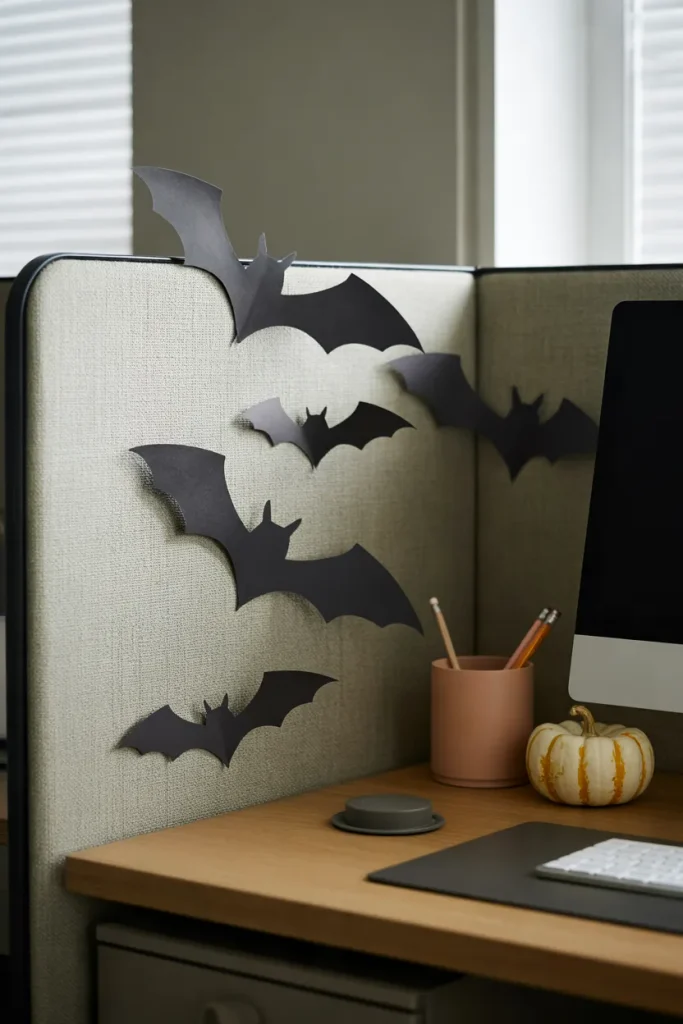
A cluster of paper bats can turn an empty cubicle wall into a playful Halloween focal point without stealing an inch of desk space. Cut bats in three sizes from matte black cardstock, gently crease the wings, and arrange them in a rising curve above your monitor.
For halloween cubicle decor that stays tidy, attach each bat with removable tabs suitable for your partition. Avoid covering vents, signs, or shared walkways. Smaller shapes near the top make the arrangement feel like it is flying away. Repeat black in a pen cup for a coordinated finish.
Mini Pumpkin Patch
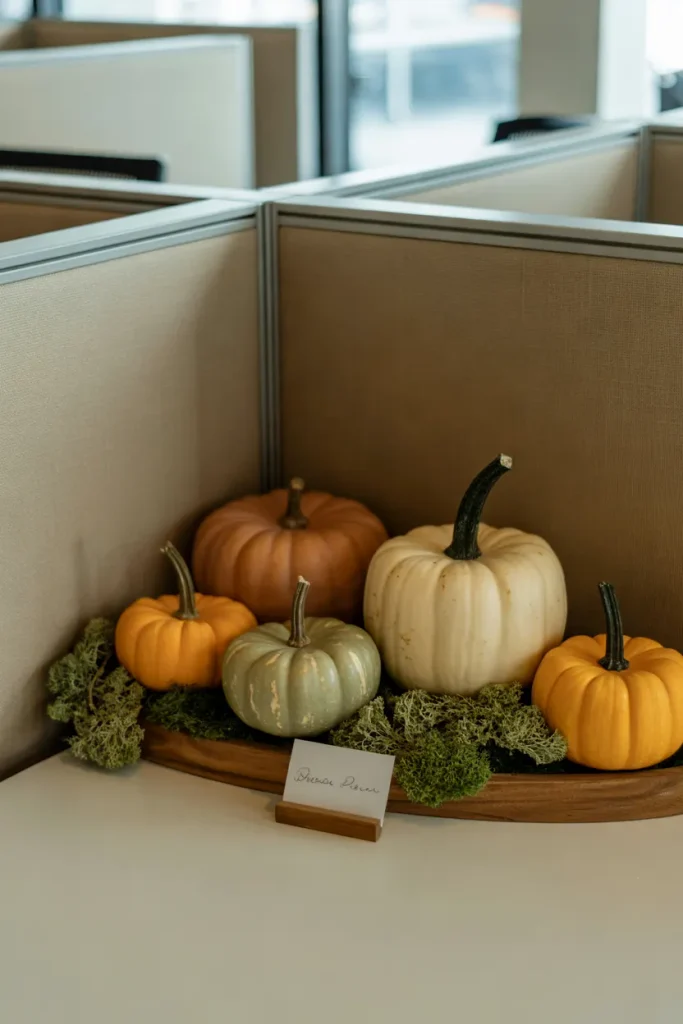
- Even a tiny desk corner can hold an adorable pumpkin patch. Start with three to five lightweight faux pumpkins.
- Choose burnt orange, ivory, and sage green so the grouping looks intentional rather than crowded.
- Set the pumpkins on a shallow wooden tray, leaving the area around your mouse and keyboard clear.
- Tuck a little preserved moss between the pumpkins, then add one tiny handwritten “Pumpkin Patch” tag.
- Skip scented sprays and loose glitter in shared offices, where coworkers may be sensitive to smells or mess.
Keeping every pumpkin on one tray makes the display easy to move when paperwork piles up or a video meeting starts. Faux pumpkins also last throughout October without getting soft or attracting insects. Choose a tray that fits completely on your desk rather than balancing decorations along the edge.
Ghost String Garland
Quick Tip:
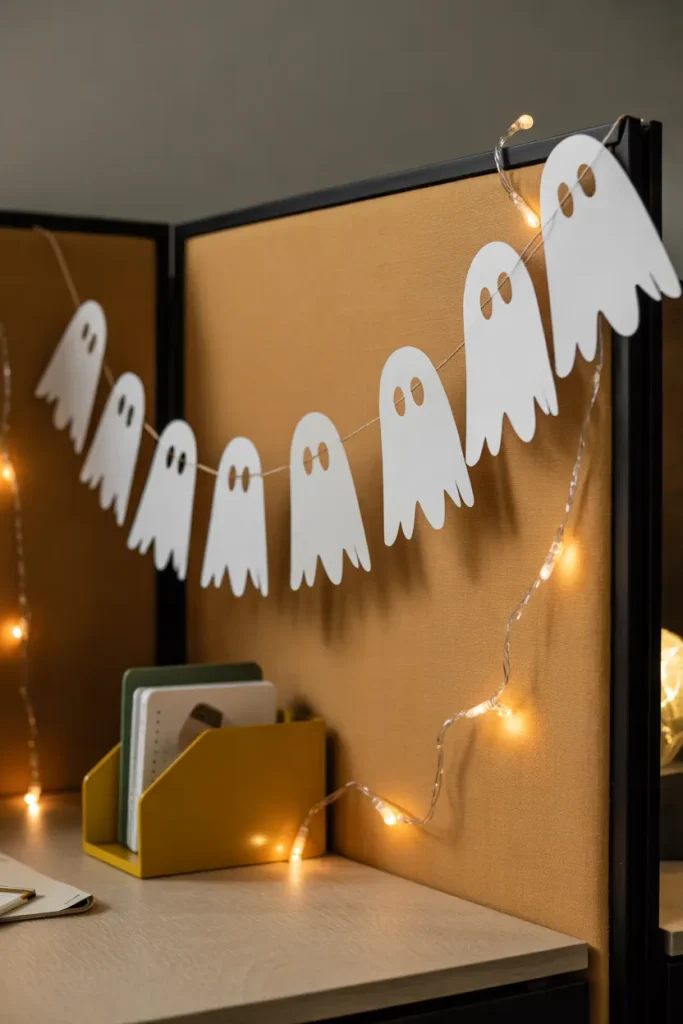
Tiny ghosts look more charming when they do not match exactly. Cut each paper shape at a slightly different height, and leave space between them so the garland hangs loosely.
Draw simple faces with a black marker, then thread the ghosts onto cotton string or attach them with miniature clips. Fasten the garland along the top of your partition using office approved removable hooks. Keep it away from cables and sprinklers, and use battery powered lights only where workplace rules permit.
Spiderweb Corner Display
BEFORE:
That empty upper cubicle corner can make even your favorite fall decorations feel unfinished. Scattered cutouts and dangling supplies only add visual clutter around your monitor.
AFTER:
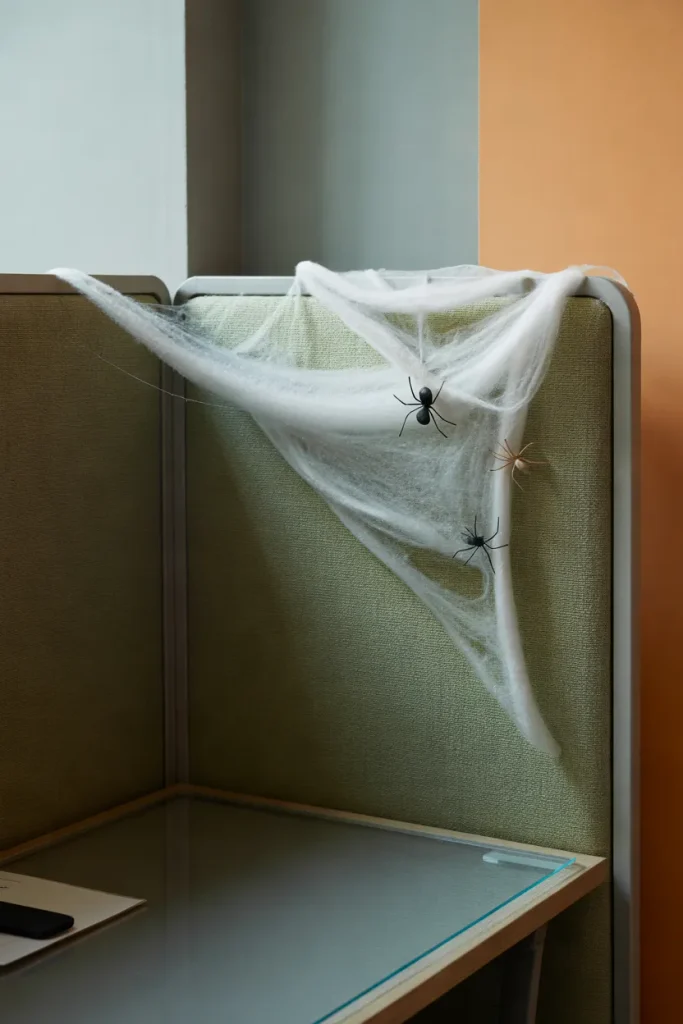
A wispy spiderweb stretched across the corner creates an unmistakably spooky outline. Two tiny black spiders give the web a focal point without competing with your work materials.
Use a small amount of synthetic webbing, pulling it into thin strands instead of thick clumps. Anchor it with removable clips on approved surfaces, and leave ceiling fixtures, ventilation, and shared aisles untouched. A restrained corner treatment is easier to clean and reads clearly in close-up photos.
Witchy Potion Bottles
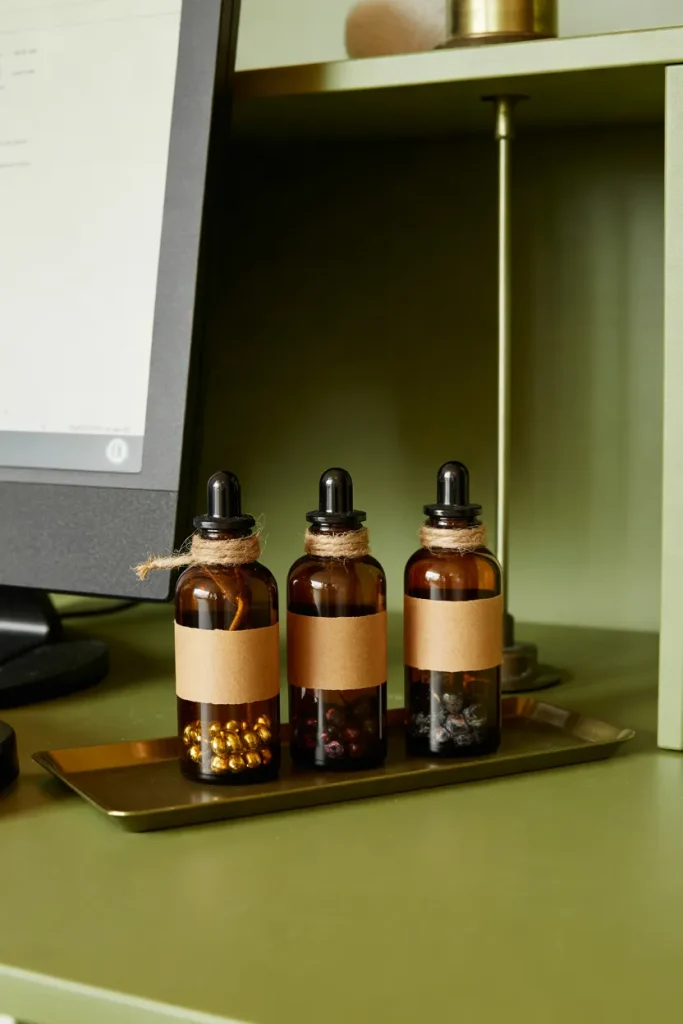
- Make your cubicle feel like a witch’s apothecary by washing and drying three miniature amber plastic bottles.
- Fill them with dry black beads, purple paper scraps, or crinkled metallic tissue for safe, spill-free color.
- Wrap cream paper labels around them and write Moon Dust, Bat Wings, and Witch’s Brew in black ink.
- Set the bottles on a narrow tray at the back of your desk, clear of cables and drinks.
Small bottles add height and a collected, vintage feel without taking up the whole desk. Amber plastic containers are safer than glass in a busy workspace, and dry fillings avoid spills near electronics. Keep labels readable and limit the arrangement to three pieces so it stays intentional.
Also View: 25 Witch Themed Halloween Decor Enchanting Dark Style
Glowing Desk Accents
| Detail | LED Tea Lights | Battery Fairy Lights |
|---|---|---|
| Best Placement | Pumpkin tray or small desk shelf | Upper cubicle partition |
| Visual Effect | Gentle candlelike flicker | Continuous dotted glow |
| Setup | Place on a stable, flat surface | Secure loosely with removable clips |
| Decorative Style | Vintage haunted atmosphere | Playful, magical Halloween mood |
| Cleanup | Lift and store individually | Coil neatly after removal |
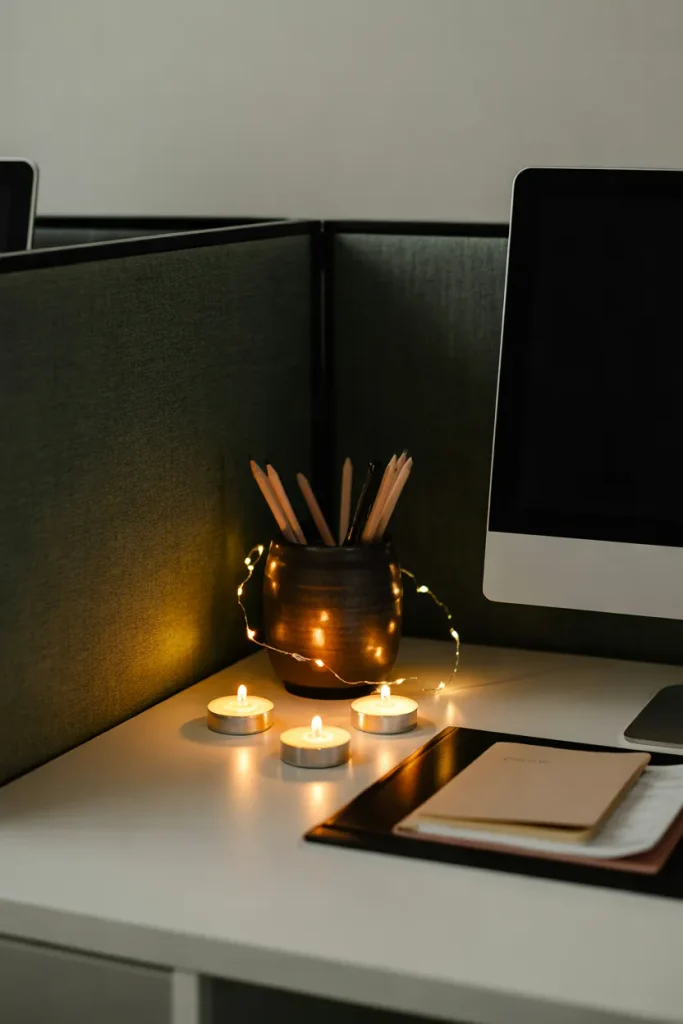
A soft, spooky glow catches the eye faster than another desk trinket. Tea lights make small clusters of pumpkins or figurines stand out, while fairy lights outline a partition or shelf. Choose cool running battery powered LEDs, check your office rules, and switch everything off when leaving.
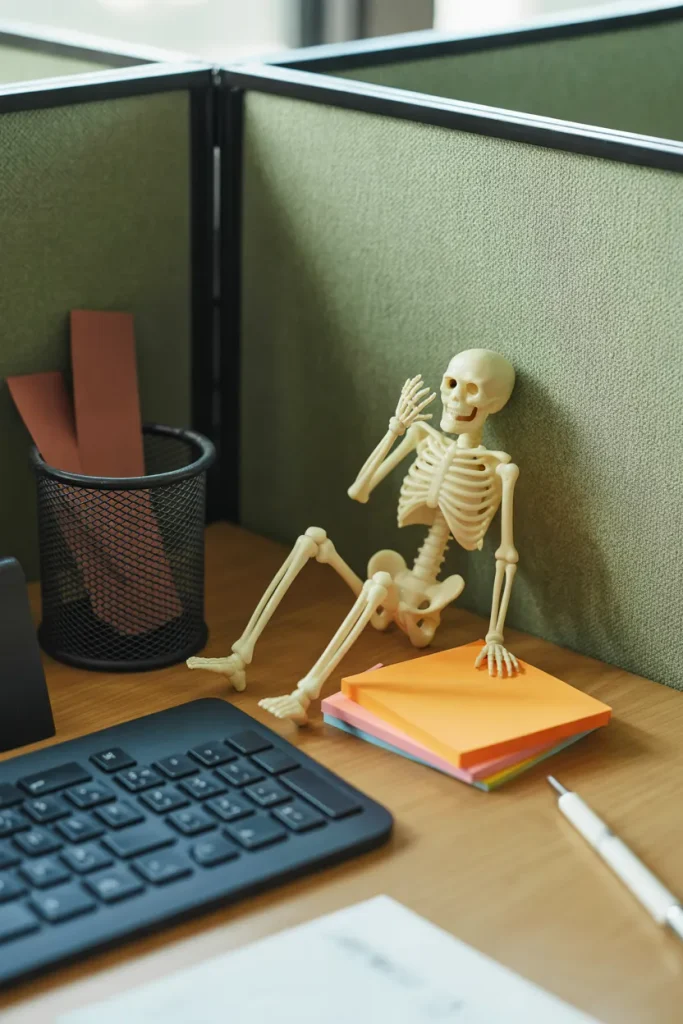
Skeleton Desk Buddy
DO:
- Make your desk instantly playful with a palm-sized, poseable skeleton.
- Position it beside a notebook or pencil holder for a funny little scene.
- Choose a lightweight plastic figure that stays stable on a flat surface.
- Add a miniature paper coffee cup for an amusing office touch.
DON’T:
- Place the skeleton where it blocks your monitor or keyboard.
- Use oversized figures that crowd your workspace.
- Attach decorations directly to company equipment.
- Leave loose accessories where they might fall onto the floor.
A palm-sized skeleton adds personality without turning your workstation into an obstacle course. Pose it beside a notebook, then change its position throughout October for a fun detail coworkers can notice. A lightweight plastic figure is easier to secure than a heavy ceramic decoration, especially on narrow desks.
Candy Corn Pencil Cups
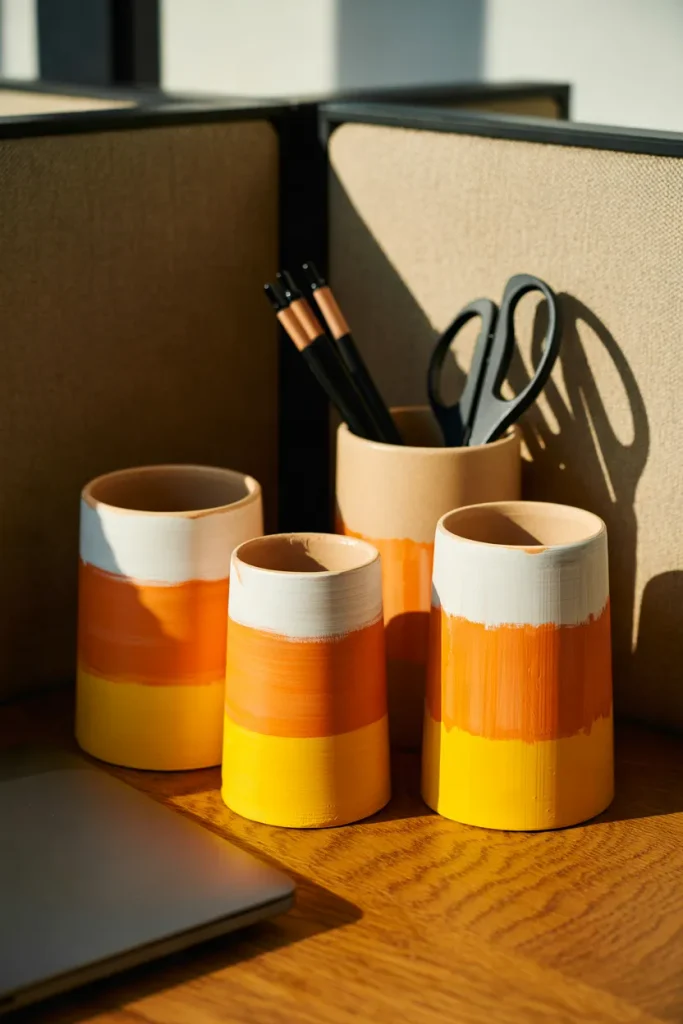
Cost: Low, especially with recycled containers.
Time: Approximately 15 to 20 minutes for paper wrapping.
Skill Level: Beginner, with basic cutting and wrapping.
Best For: Small cubicles needing colorful, functional Halloween accents.
Striped pencil cups bring Halloween color into the supplies you already reach for all day. Wrap plain holders with removable colored paper rather than painting office property. Keep the stripes aligned and leave the interiors clear for pens, scissors, and highlighters. The decoration stays useful even during a busy workweek.
Haunted Bulletin Board
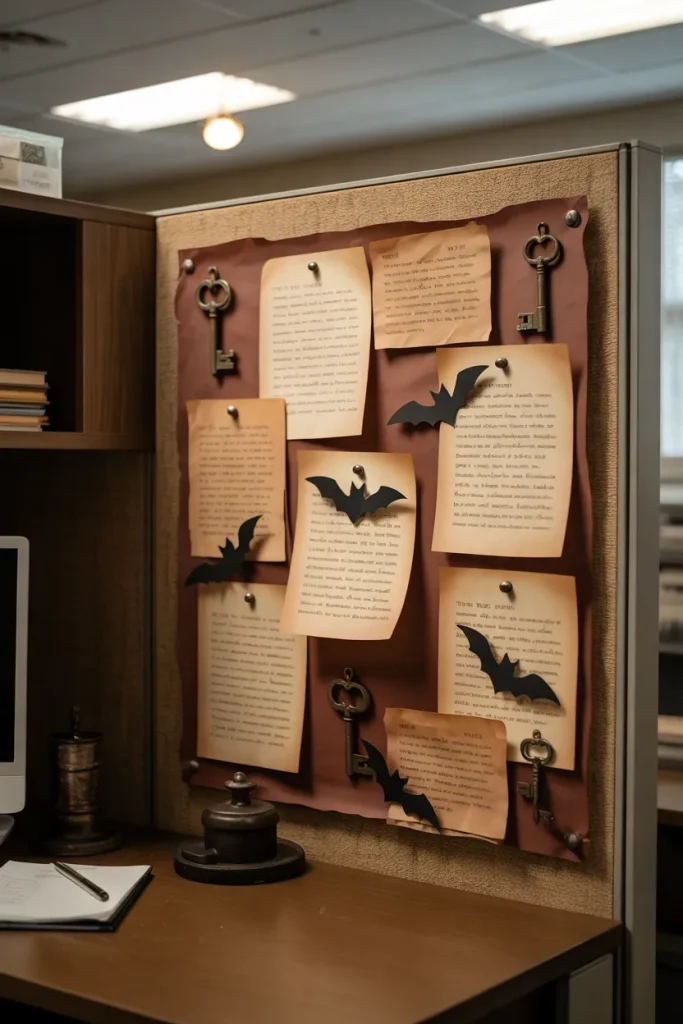
A bulletin board full of ordinary reminders can become a spooky display with a few paper details. Replace decorative filler with aged-looking notices, bat silhouettes, and a “Missing: Office Snacks” sign. Use tea-stained-look printed paper rather than actual liquid staining, which can warp the board or leave marks.
Keep deadlines and contact numbers readable by reserving one side for work and the other for seasonal decorations. Pin items within the board’s edges so nothing hangs over your monitor. The mix of practical notes and pretend mysteries makes the setup feel thoughtful, not like random party supplies.
Black Cat Cutouts
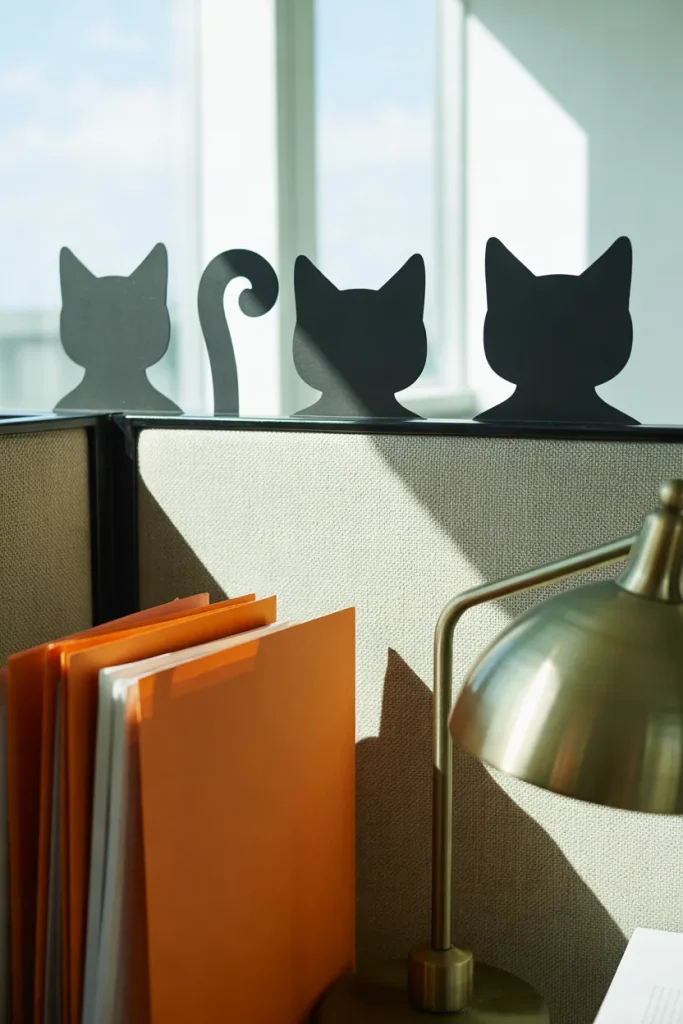
- A pair of pointed ears peeking over your divider instantly adds a mischievous Halloween detail. Start with sturdy black cardstock.
- Cut three cat silhouettes in different poses, keeping the tails thick enough not to bend.
- Attach them on the inside of your cubicle partition with removable clips or approved tabs.
- Let only the ears and upper backs rise above the divider, provided they do not intrude into shared space.
- Keep the shapes away from team signs and anything coworkers need to see.
The contrast between solid black shapes and a light partition reads clearly from a distance, which makes this setup particularly photogenic. Cut the cats from one sheet of matching cardstock for a polished finish. A small orange notebook below adds color without turning the whole workstation into a display.
Mini Graveyard Garden
Quick Tip:
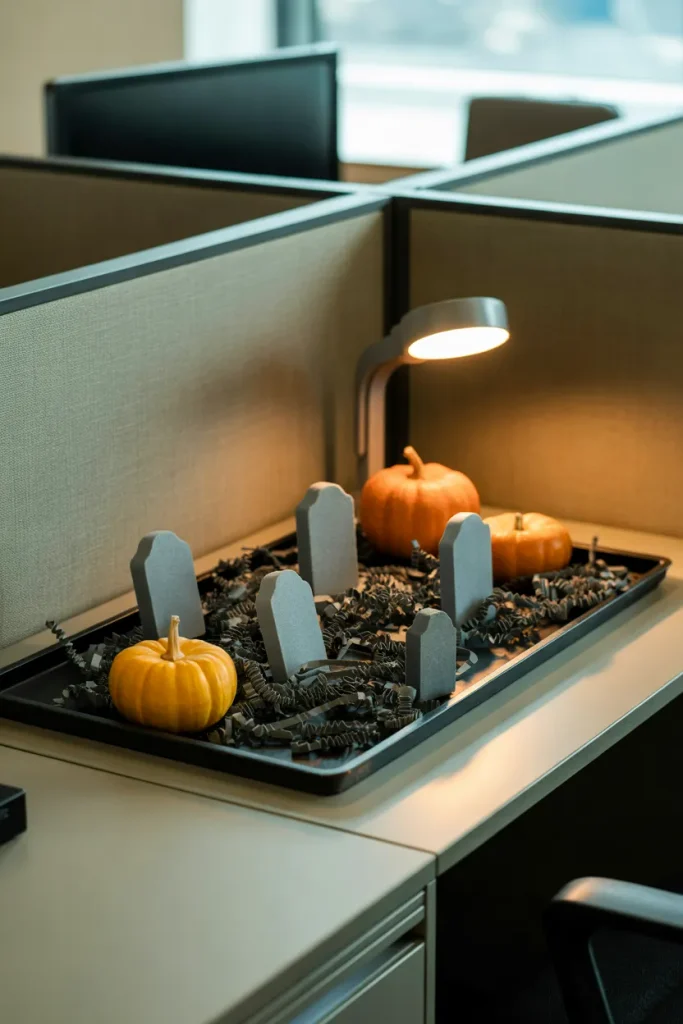
Skip real soil and water for a desktop graveyard. A shallow tray filled with reusable black paper crinkles holds tiny foam tombstones neatly in place.
Write playful names such as Deadline Resting Place on the tombstones with a fine tip marker. Space them at different heights, then tuck a few paper leaves between them for an abandoned garden look. The tray keeps every piece contained, so the scene can be cleared quickly before a busy afternoon.
Haunted Cubicle Entrance
BEFORE:
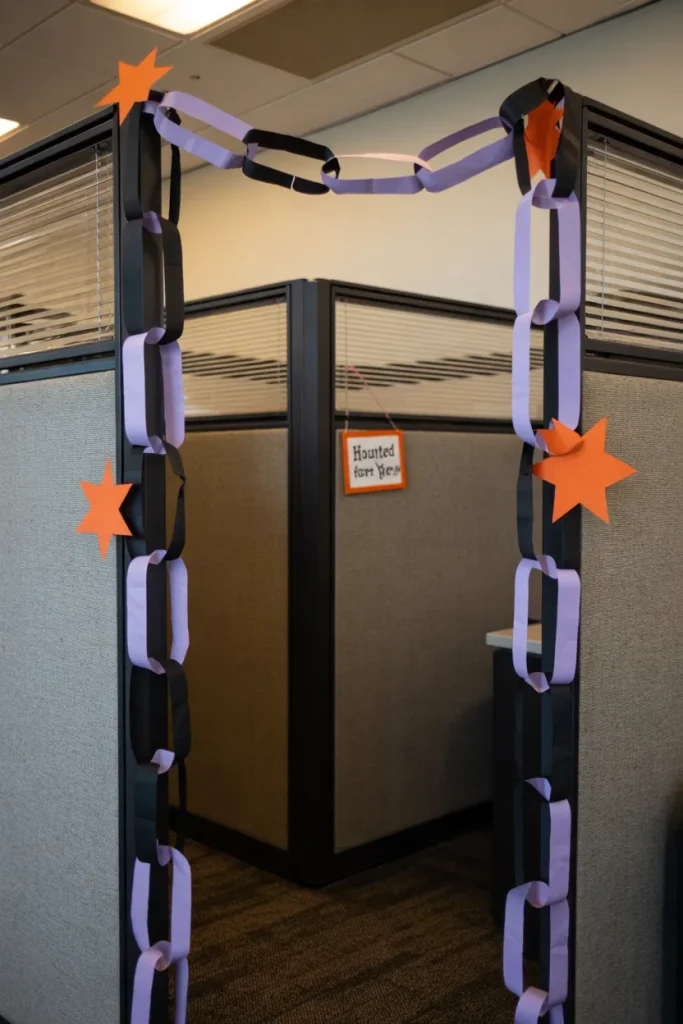
The opening of your cubicle blends into the rest of the office, even when the desk inside has decorations. A dangling banner across the walkway would add clutter and risk getting snagged.
AFTER:
Short paper chains and small cardstock stars trace the inside edge of the partition. A tiny haunted house sign makes the entrance easy to spot while the path stays open.
For halloween cubicle decor that feels dramatic but stays workplace friendly, decorate only the inside edges of your own partition. Use low tack mounting strips approved for the surface, and keep the floor completely clear. The entrance becomes a fun photo spot without creating a tripping hazard or blocking colleagues.
Googly Eye Planters
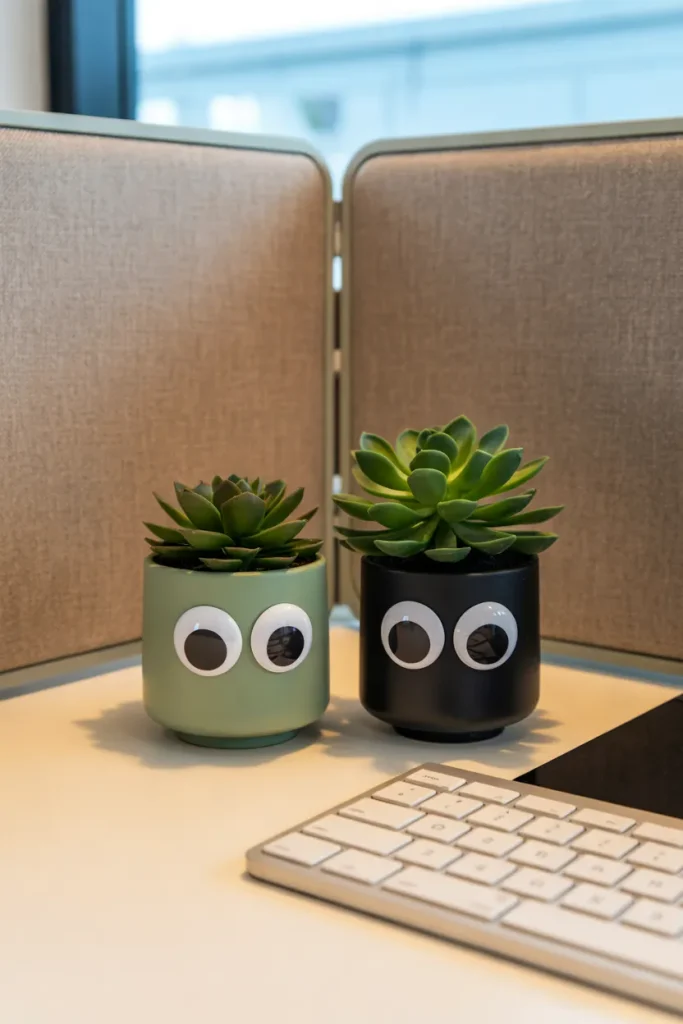
- Tiny monster planters bring a funny, spooky personality to even the most serious office desk. Start with two small faux succulents in lightweight pots.
- Attach oversized googly eyes to the front of each pot using removable adhesive dots.
- Cut small triangular teeth from white cardstock and position them beneath the eyes to create playful monster faces.
- Arrange both planters beside a notebook or monitor stand, leaving enough room for your everyday office supplies.
These little monsters work best in pairs because different eye positions add personality without crowding the desk. Faux greenery keeps maintenance simple, while the pots bring cheerful color near your monitor. Keep them on a shallow tray if your workspace gets moved or cleaned frequently.
Retro Horror Mini Prints
| Detail | Printed Mini Posters | Hand Drawn Posters |
|---|---|---|
| Visual Style | Crisp vintage illustrations | Personal, handmade artwork |
| Preparation | Download designs and print | Sketch and color each piece |
| Color Choices | Consistent retro palette | Fully customizable colors |
| Best For | Quick, coordinated decorating | Creative, personalized displays |
| Overall Finish | Polished miniature gallery | Charming handmade collection |
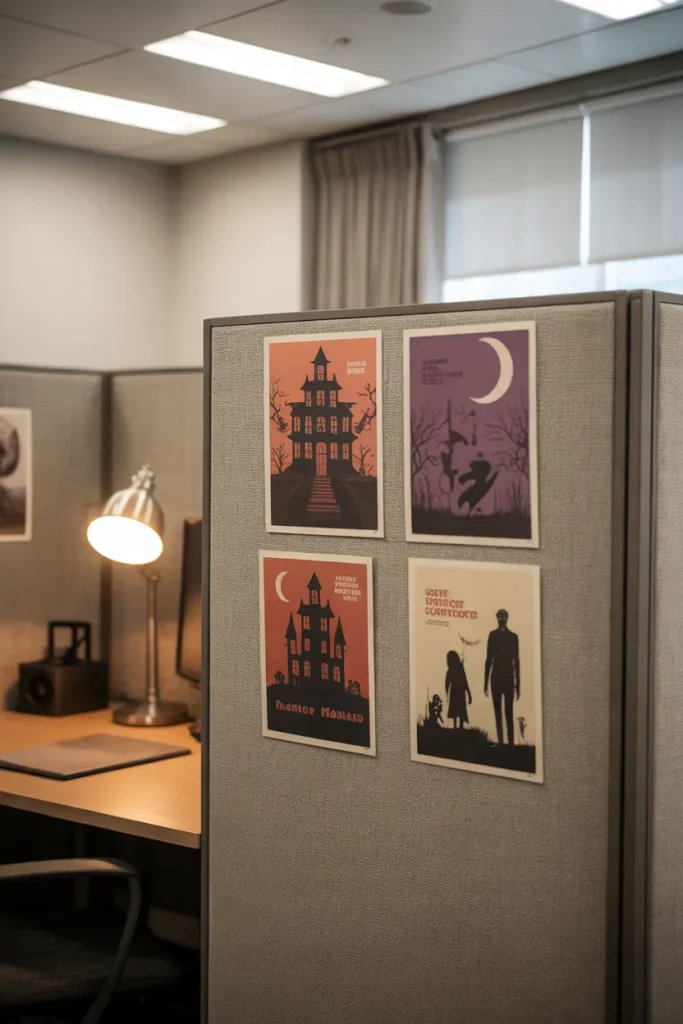
Retro horror prints create a nostalgic Halloween atmosphere without bulky decorations or complicated supplies. Choose three or four designs with matching colors, then arrange them in a neat grid on your cubicle partition. Use removable mounting tabs and keep work notices visible. Consistent spacing makes inexpensive prints look surprisingly polished.
Jack O Lantern Drawers
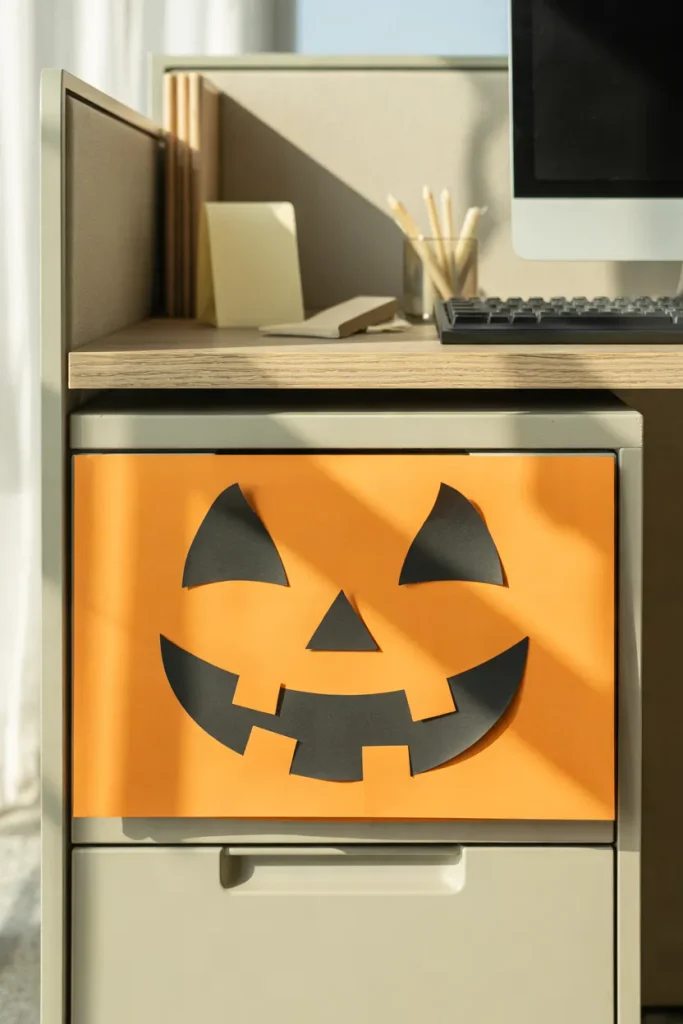
DO:
- Give your plain storage drawer a cheerful jack o lantern grin with removable paper decorations.
- Cut two triangular eyes and a wide toothy smile from black cardstock.
- Attach an orange paper panel to create a bright pumpkin colored background.
- Keep the face centered so the drawer remains easy to open.
DON’T:
- Cover drawer handles, locks, or identification labels.
- Apply permanent paint or strong glue to office furniture.
- Use loose glitter that could scatter across your supplies.
- Extend paper decorations into walkways or neighboring workspaces.
A pumpkin face on a drawer brings Halloween personality to an overlooked part of your workstation. The bold orange and black combination stands out against neutral office furniture, especially in photographs. Use removable adhesive suitable for the finish, and test a hidden spot first to avoid damaging the surface.
Moon Phase Wall Art
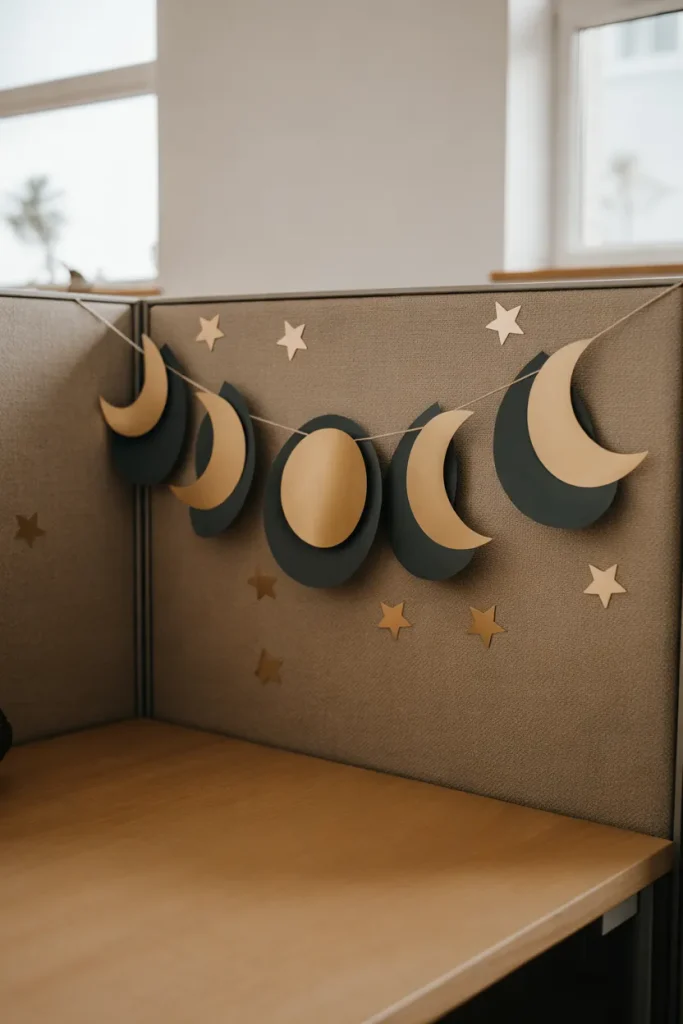
Visual Effect: A shimmering moon sequence gives a plain office partition an enchanting, witchy atmosphere.
Cost: Low, using cardstock, scissors, and removable adhesive.
Time: Approximately 15 to 20 minutes.
Best For: Minimalist cubicles, celestial Halloween themes, and small workspaces.
Cut five moon phases from cardstock using a plate and cup as tracing guides. Arrange them above your desk, with the full moon at the center, and attach them using removable mounting tabs. Metallic paper catches daylight without needing lights, making this a practical choice for offices with strict decoration rules.
Mummy Tissue Box
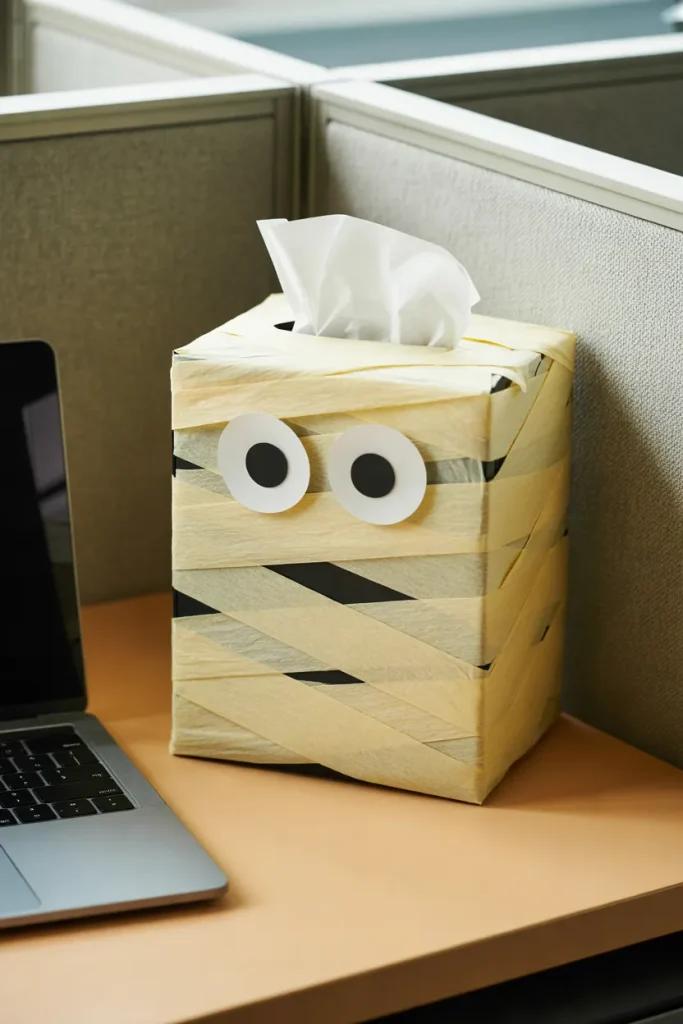
A plain tissue box becomes a funny little mummy with nothing more than white crepe paper and two oversized paper eyes. Wrap the box loosely in overlapping strips, leaving the tissue opening completely clear. Secure each strip underneath with removable tape rather than covering the pull slot.
Set the mummy beside your monitor or near the back corner of your desk, where coworkers can spot its expression. Choose paper eyes instead of plastic pieces that might fall off, and keep the wrapping away from drinks. The result feels playful while the box remains useful all day.
Halloween Chair Bow
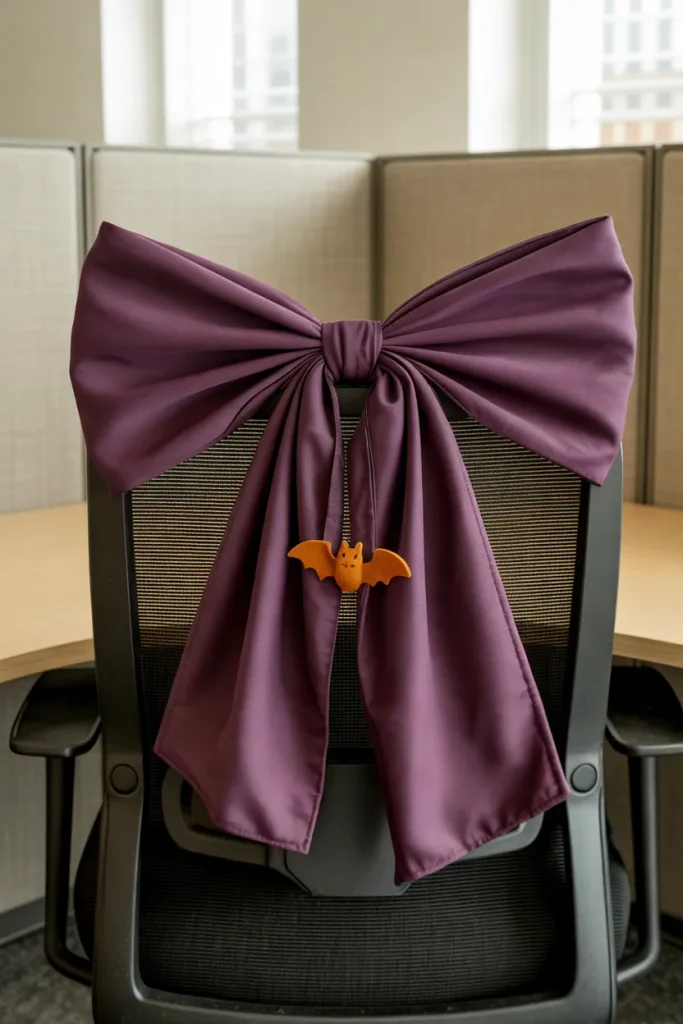
- Even the back of your chair can join the Halloween fun. Choose a broad plum purple or burnt orange ribbon with a soft finish.
- Wrap the ribbon around the upper backrest only, making sure it does not press uncomfortably against your back.
- Tie a flat bow with short tails that stop well above the seat and moving parts.
- Clip one lightweight felt bat or tiny fabric pumpkin at the knot for a recognizable seasonal detail.
- Check that your chair can swivel, roll, and adjust normally before returning to work.
A chair bow is especially useful when desk space is limited but you still want a noticeable seasonal accent. Velvet ribbon gives a moody, polished finish, while cotton feels more casual. Keep the fabric away from wheels and adjustment controls, and remove it if it interferes with sitting comfortably.
Witch Hat Pen Toppers
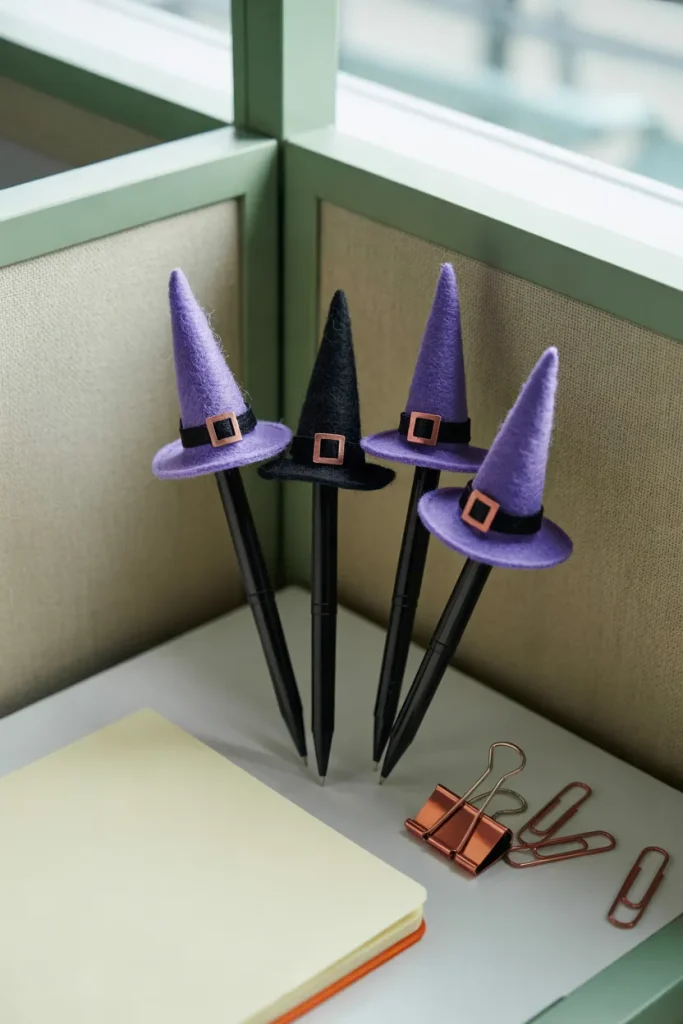
Quick Tip:
Even an ordinary pen can wear a tiny witch hat. Cut small semicircles from black felt, roll them into cones, and add purple cardstock brims for a playful miniature costume.
Keep the hats lightweight by using felt scraps or paper instead of thick fabric. A small dab of removable craft adhesive can secure each hat to a reusable pen cap. Make several in different heights, but leave the pen clips and writing tips clear so your supplies remain comfortable to use.
Coffin Desk Nameplate
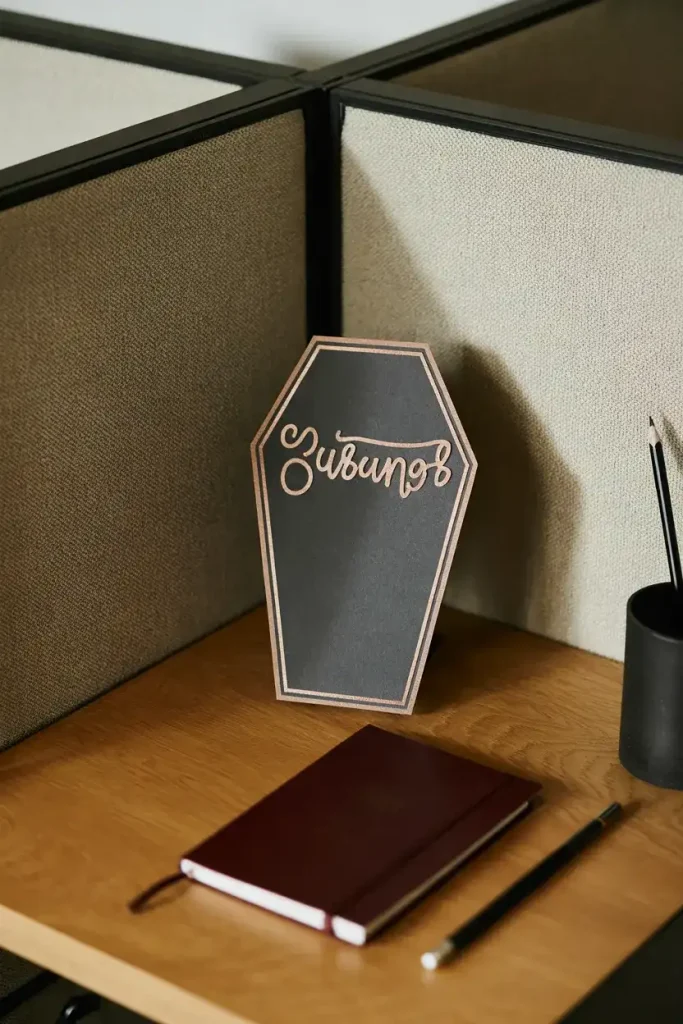
BEFORE:
That standard plastic nameplate is easy to overlook on a decorated desk. Bright party signs can also feel out of place against professional office furniture.
AFTER:
A miniature coffin shaped nameplate gives your workstation a distinct gothic touch. Copper edging and cream lettering make the design spooky while keeping your name clearly readable.
Cut the coffin outline from sturdy cardstock and write your name or job title in a contrasting paint pen. Stand it in a small reusable photo holder rather than attaching it to office equipment. The unusual shape looks striking against neutral furniture, but the lettering should remain easy for visitors to read.
Haunted House Silhouette
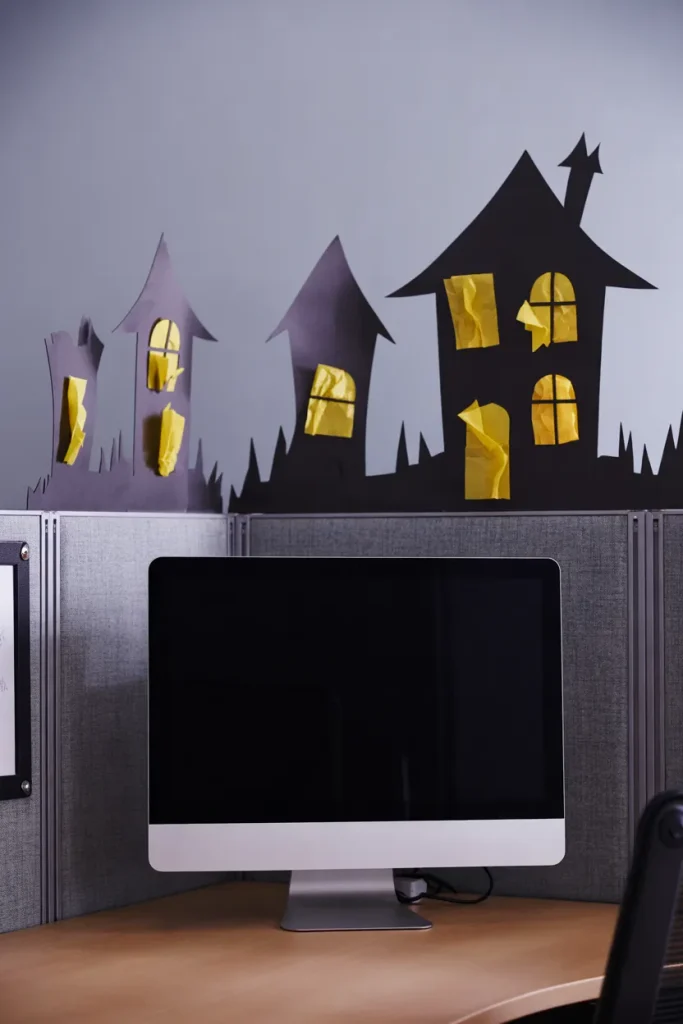
- A crooked haunted skyline instantly gives an ordinary cubicle desk a theatrical backdrop. Sketch a simple house outline with pointed towers on black cardstock.
- Carefully cut around the rooftops, chimney, and windows using scissors or a craft knife on a protected cutting surface.
- Attach small pieces of yellow tissue paper behind selected windows to create the appearance of glowing rooms.
- Place the finished silhouette in a sturdy tabletop card holder, keeping it behind your supplies and away from ventilation openings.
Layer a second piece of cardstock behind the house to create depth, then add yellow paper to a few windows. Stand the silhouette in a stable card holder behind your keyboard, where it cannot block the monitor or fall onto cables. The staggered rooftops give it a dramatic skyline effect.
Conclusion
Small details can make an ordinary cubicle feel like a cheerful little Halloween hideout. You do not have to decorate every surface. A bat trail, miniature pumpkin tray, or pair of monster planters is enough to set the mood while keeping your desk useful.
Choose the halloween cubicle decor idea that fits your space, supplies, and office rules, then give it your own twist. Save this post on Pinterest so you can revisit your favorites, and share it with a coworker who loves seasonal decorating. Pick one project to make this week, and let the spooky fun begin!